Email Migration and Imports: How to Plan Them Independently

What Is Email Migration?
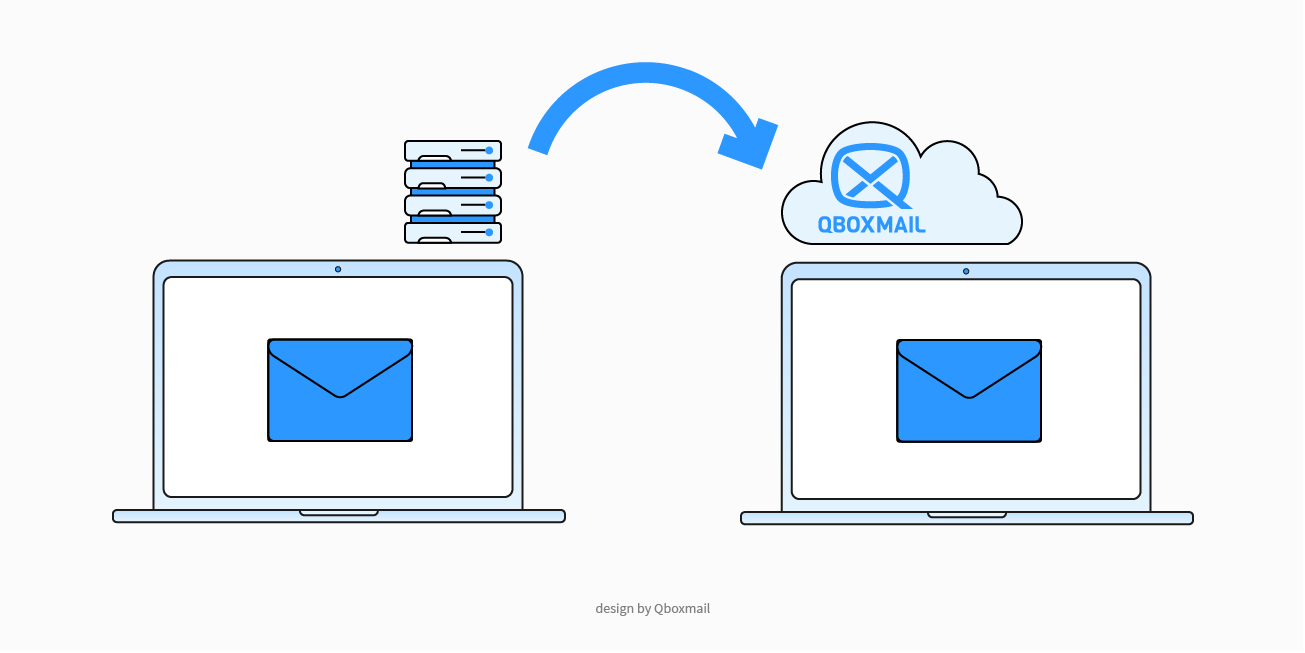
Email migration is the process of moving mailbox history from one email system to another, while keeping messages and folder structures available throughout the transition to the new service.
In practical terms, it means transferring the history of your business communications to a new environment while preserving operational continuity and your existing email data.
Consider a company that has been using an email service with limited features and now needs greater reliability, automation, or control over backups and mailbox management. Email migration allows the company to move years of messages to the new system, without forcing users to start from scratch or lose important information.
Similarly, for an IT provider or agency managing multiple customers, email migration makes it possible to consolidate different environments into a single point of control while preserving each customer’s communication history.
If you want an overview of the entire process, learn how business email migration works and which key stages to consider when switching email providers.
Why Proper Email Migration Planning Matters
Planning an email migration can raise several concerns, including service interruptions, data loss, or unexpected costs. Qboxmail provides import and migration tools that you can manage directly from the Control Panel. These tools allow you to plan the different activities, monitor each stage, and take action when needed.
Proper planning therefore helps reduce the impact of the migration on users and keeps the process under control, especially when many domains or mailboxes are involved.
Email Import and Migration: Two Separate Stages
Import Before Migration
Before transferring messages to Qboxmail, you must first set up the destination domains and mailboxes. The Import feature allows you to create or configure domains, mailboxes, and aliases in bulk from the Control Panel, without transferring historical email data yet.
To run an import, prepare a spreadsheet with the required columns, such as domain, address, and alias. Export it as a CSV file and upload it to the Control Panel. Qboxmail uses the information in the file to create the accounts.
This process is particularly useful for initial onboarding or when you need to set up a large number of mailboxes. Only after the accounts have been created can the migration begin, copying messages and folders from the source server to the new mailboxes.
In this way, import and migration remain two separate but consecutive activities: the first prepares the account structure, while the second transfers the email history.
Migrations
A mailbox migration allows you to transfer the contents of one or more email accounts from a mail server to Qboxmail using a specially configured CSV file.
The file contains the accounts to migrate and the information required to access the source server. Authentication methods may vary depending on the source provider. You can use individual mailbox credentials or other supported authentication methods.
Once the migration starts, the system copies the messages to the new environment while preserving the folder and subfolder structure.
This approach simplifies the transfer of multiple mailboxes. It also allows you to manage both the first synchronization and the synchronization performed after the MX record change. The latter retrieves any messages that reached the old server during DNS propagation.
How to Plan an Email Migration from the Control Panel
Create and Validate the CSV File
As with imports, create a CSV file containing the details of the mailboxes you want to migrate, such as addresses, credentials, or the data required by the authentication method used by the source provider.
Once you upload the file to the Control Panel, you can run a preliminary validation to check that the source server is reachable and that the parameters are correct.
Schedule the Date and Time
You can set a date and time for the migration to start automatically. At the scheduled time, Qboxmail connects to the source server and begins copying messages and folder structures.
You can schedule the migration during periods of lower activity to reduce the impact on users. The process runs in the background and can be monitored from the Control Panel.
Change the MX Records and Run a Second Synchronization
After the first synchronization is complete, you can update the domain’s MX records and direct new incoming email to Qboxmail.
Once you have changed the MX records, schedule a second synchronization to retrieve any messages that reached the previous server during DNS propagation.
This allows you to organize the transfer while keeping the mailboxes operational throughout the different stages of the migration.
Migrating from Different Providers and Infrastructures
The general migration process remains similar, but the preliminary steps and authentication method may vary depending on the source system.
Migrating from Google Workspace
If your mailboxes are hosted on Google Workspace, for example, an IMAP migration requires specific Google account settings. These include enabling IMAP access, two-factor authentication, and generating an app password. Google also applies limits to the amount of data that can be downloaded via IMAP, which you should consider when planning the migration of larger mailboxes. Learn more in our guide to email migration from Google Workspace to Qboxmail.
Migrating from Microsoft 365
For Microsoft 365, accounts that use OAuth2 require a specific preliminary step: creating an App Registration in the Microsoft environment. This authorizes access to the mailboxes during the transfer. Our dedicated guide explains how to migrate from Microsoft 365 to Qboxmail.
Migrating from a Dedicated Email Server
A migration may also involve infrastructure managed directly by companies or resellers. If the source system is a dedicated server and you have the required administrative access, you can organize the mailbox transfer in bulk, reducing the work required to manage each mailbox individually. Find out more about how to migrate from a dedicated server to Qboxmail.
Migrating from Rackspace
If you use Rackspace Email and are considering switching to another provider, you should consider both the technical aspects of the migration and the service features, management options, and pricing model of the alternative. Learn more about what to consider when looking for an alternative to Rackspace for business email.
Notifications and Final Checks
During the different stages, the Control Panel allows you to check the progress and outcome of the migration. If connection issues, incorrect parameters, or source server limits occur, you can identify the problem and take action before completing the migration.
Once the migration is complete, check that messages and folders are available in the new mailboxes before decommissioning the previous service.
For step-by-step instructions on creating the CSV file and starting and managing mailbox migrations, refer to the Qboxmail documentation.
As you can see, you can plan the move to Qboxmail directly from the Control Panel. If you need support during the transfer, you can also contact the Qboxmail team.
Best Practices for Planning an Email Migration
Before starting an email migration, it is important to take a few precautions.
Run a preliminary test on a small group of mailboxes. This helps you estimate the time required and identify any characteristics of the source server that may affect the transfer, such as IMAP restrictions, authentication methods, or security rules.
You should also inform end users in advance about the main stages of the migration and the planned time for the MX record change. Clear communication helps reduce uncertainty and support requests during the migration.
Qboxmail’s import and migration tools are also designed for resellers and ICT partners that need to transfer multiple domains and mailboxes on behalf of their customers while managing the process from a single Control Panel.
If you want to offer your customers a professional email service and manage email migrations more easily, download the Reseller Program and find out how to become a Qboxmail Partner.

Business email migration: how to switch providers without losing data

Qboxmail is partner of MSP Global 2026: Meet Us in Barcelona