How to Activate and Purchase Qboxmail Services

Getting started with Qboxmail is simple. You begin with a 30-day free trial that lets you explore the platform and test all core features. Once you’re ready, you can purchase the service directly from the Control Panel.
Start the Free Trial
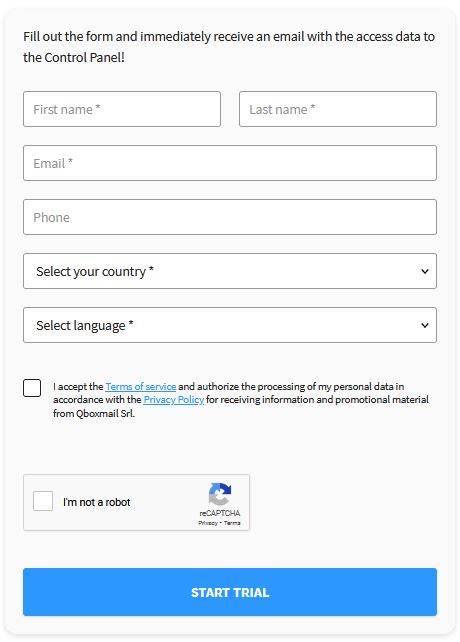
To activate the trial, complete the registration form on qboxmail.com/free-trial. After confirming your email address and setting your password, you can log in to the Control Panel and immediately start creating domains and mailboxes.
Access the Control Panel
From the Control Panel (panel.qboxmail.com), you manage domains, mailboxes, and all trial features for 30 days. The dashboard also shows how many days remain in your trial. You can upgrade to a paid plan at any time without losing your setup.
Trial Features
During the free trial you can:
- Add up to 5 domains
- Create up to 25 mailboxes (8 GB each)
- Send up to 25 messages per mailbox per day
Some features remain restricted to prevent abuse, but the trial gives you a full overview of how Qboxmail works.
profile earlier, you can open a support ticket directly from the Control Panel and request the removal.
How to Place an Order

When you decide to purchase, go to Orders in the Control Panel and choose your profile type:
- Private – available for Italian residents without a VAT number
- Company – for professionals and businesses with a VAT number
- Reseller – for IT providers who manage mailboxes for third parties (approval required)
Next, select your billing method:
Annual billing – convenient if you prefer one yearly payment (minimum order: 1 mailbox, available for companies and private users)
Payment Options
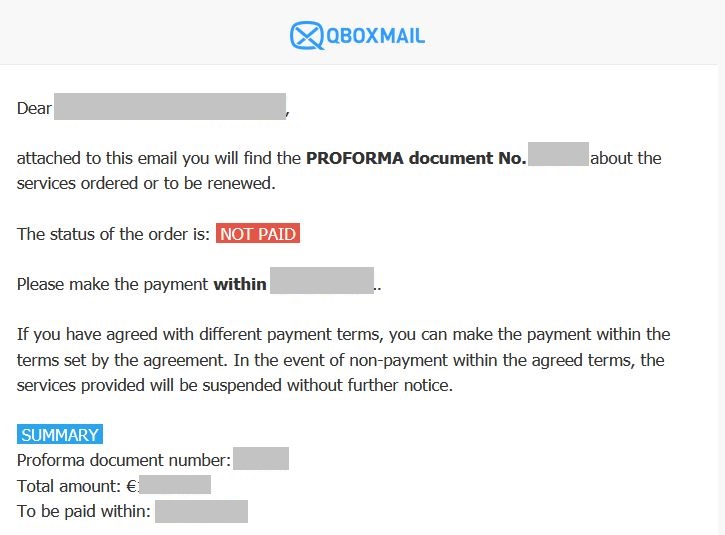
You can pay by bank transfer, credit card, PayPal, or set up automatic PayPal billing for recurring invoices. After payment, you’ll receive a confirmation invoice and the service will unlock within minutes.
Customer and Billing Area
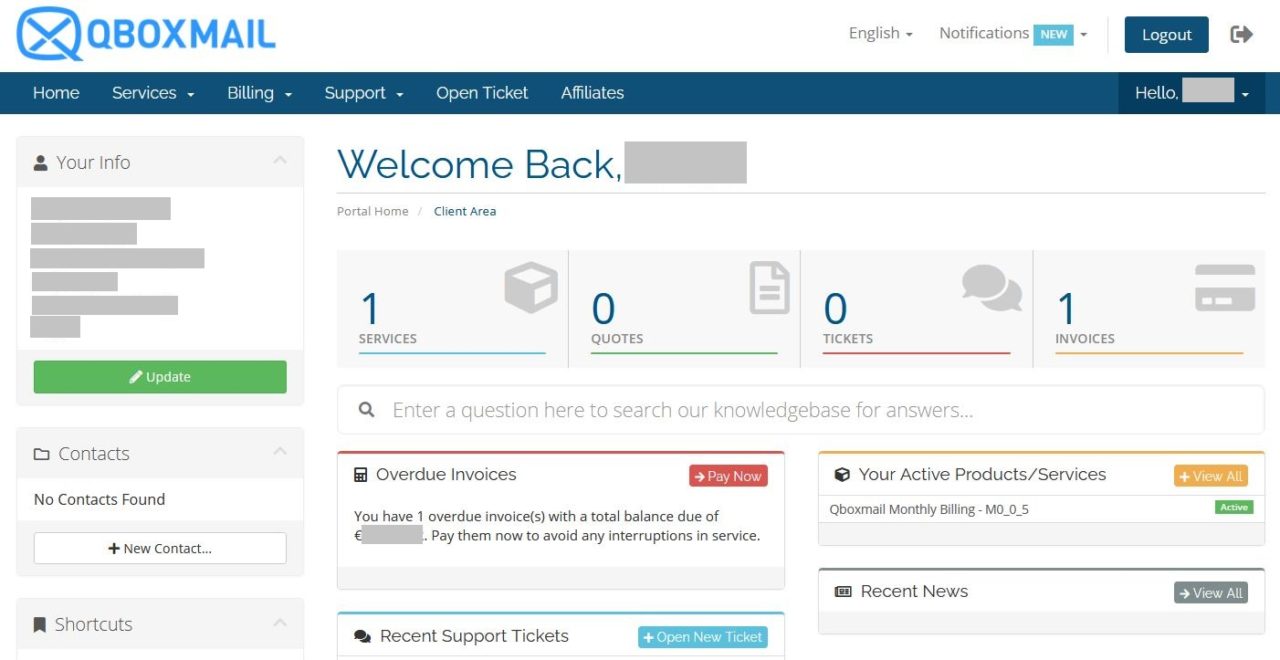
Once active, you can manage your account and billing information from the Customer and Billing Area. Here you’ll also find your invoice history and the option to open support tickets.
Email migration from Google Workspace: what to know

Digital Receipts via Email
